Collaborating for a cause…

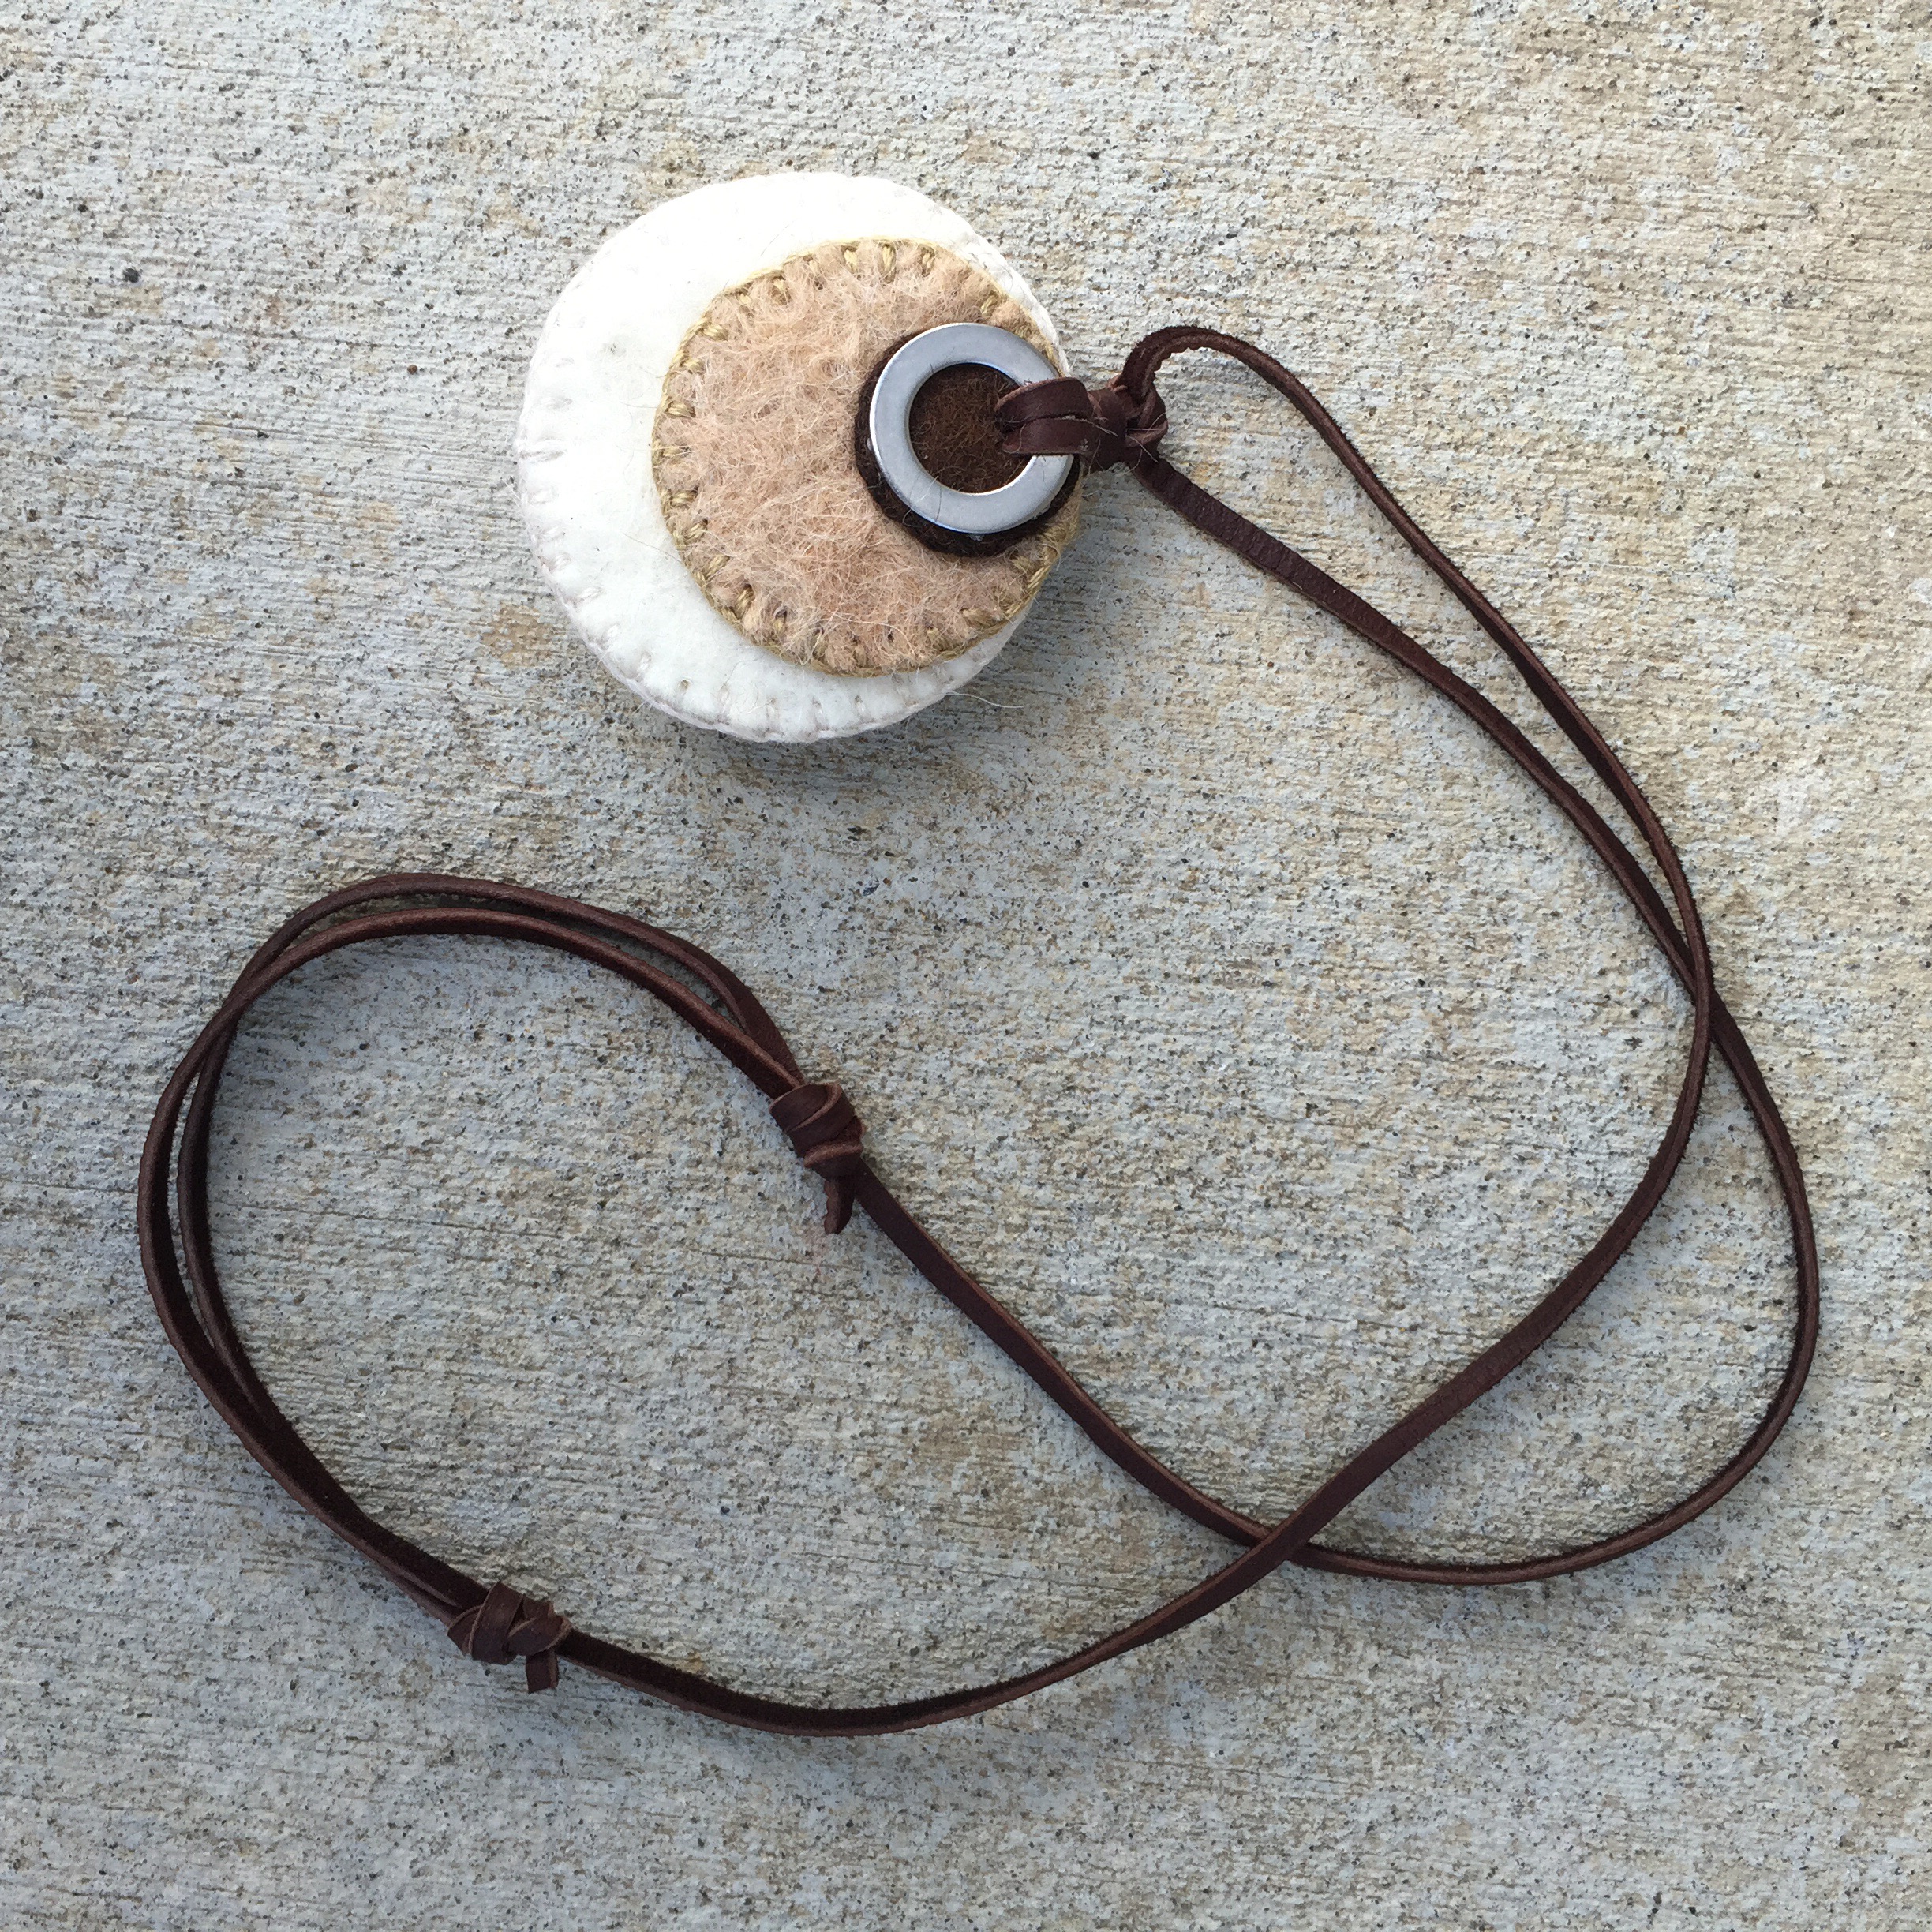
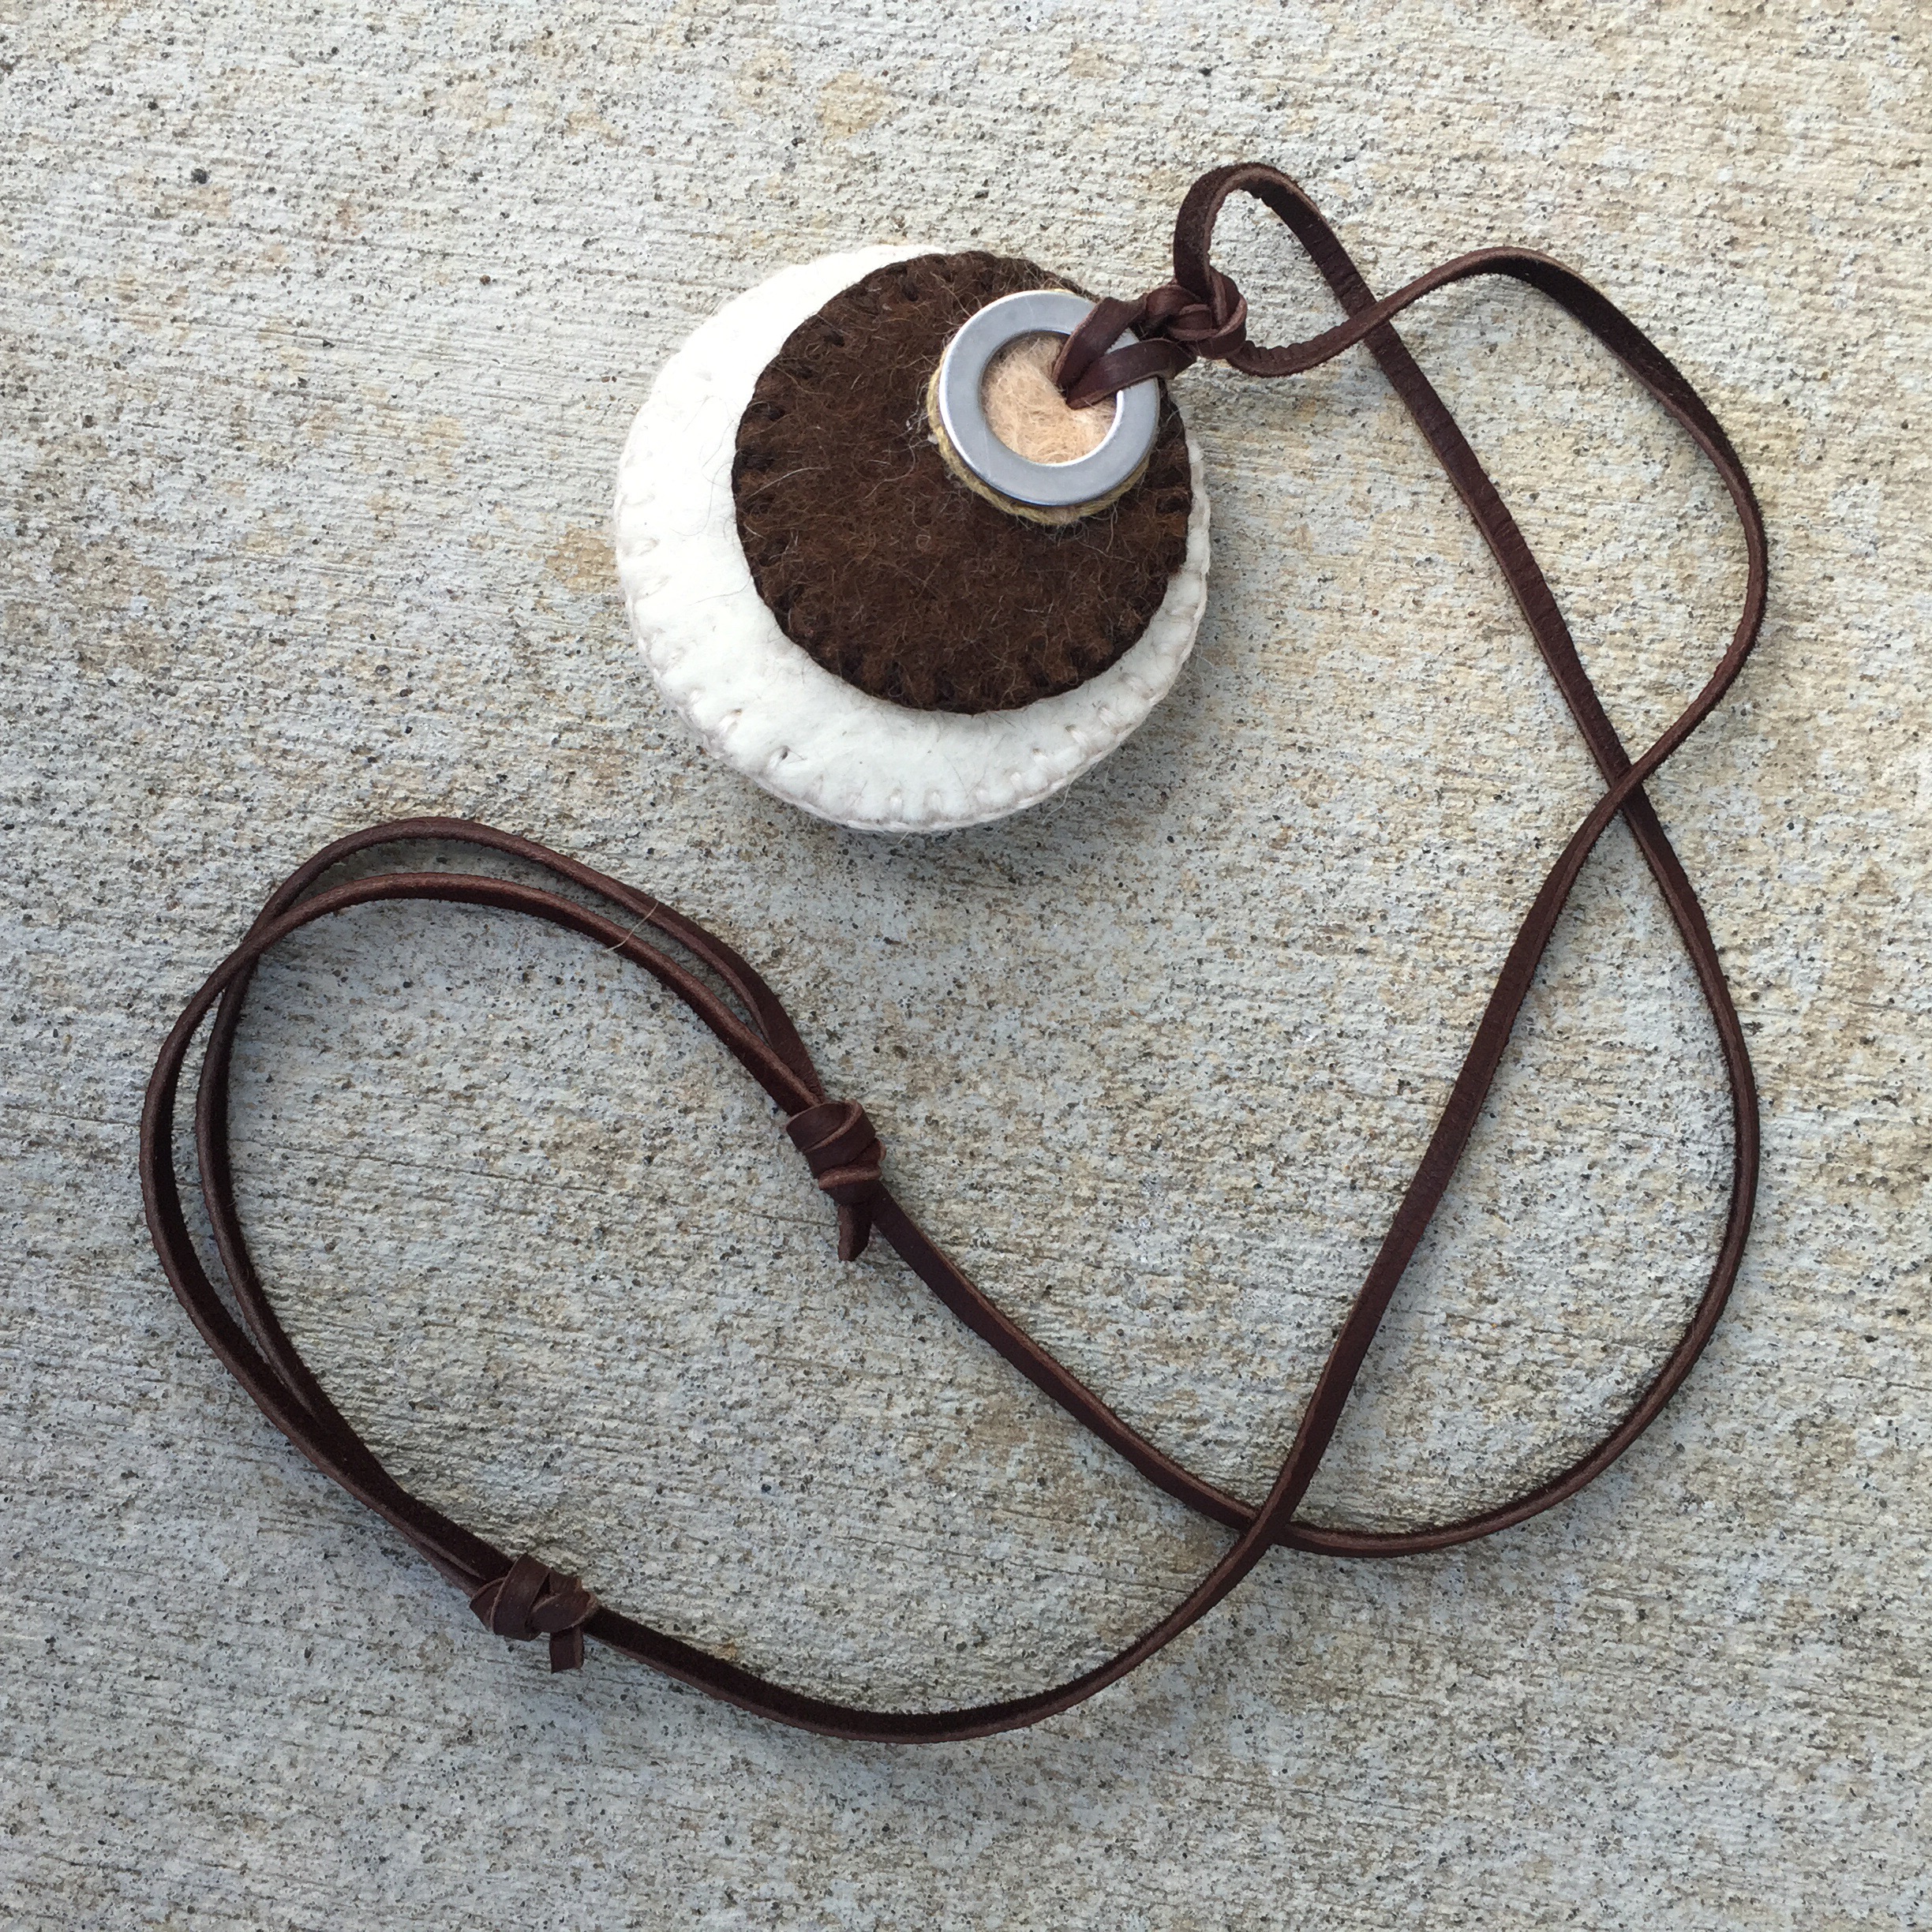
Collaboration, like solo creation, usually starts with an idea, vision, or concept, that is then altered as the process unfolds. But unlike solo creation, collaboration affords many more opportunities for unexpected outcomes. When collaborating with young children, I like to set parameters for success by limiting color choices, size, and shape. In this class art project for the school auction, each Pre-K student made a circle-ish piece of flat felt using three colors of alpaca roving donated by Flying Dutchman Alpacas. A dinner plate set the size limit as they laid out the layers of roving in one main color. Two other colors of roving were added in the final layer in whatever design they chose.

After the student’s felt pieces were finished, I spent about a week just exploring different wall hanging ideas. I even worked with the children a second time to create felted wool balls that I thought would be a part of the final piece.  My original wall hanging concept just didn’t seem right anymore. Then a conversation with a friend sparked the idea of using leather as a backdrop for the felt.

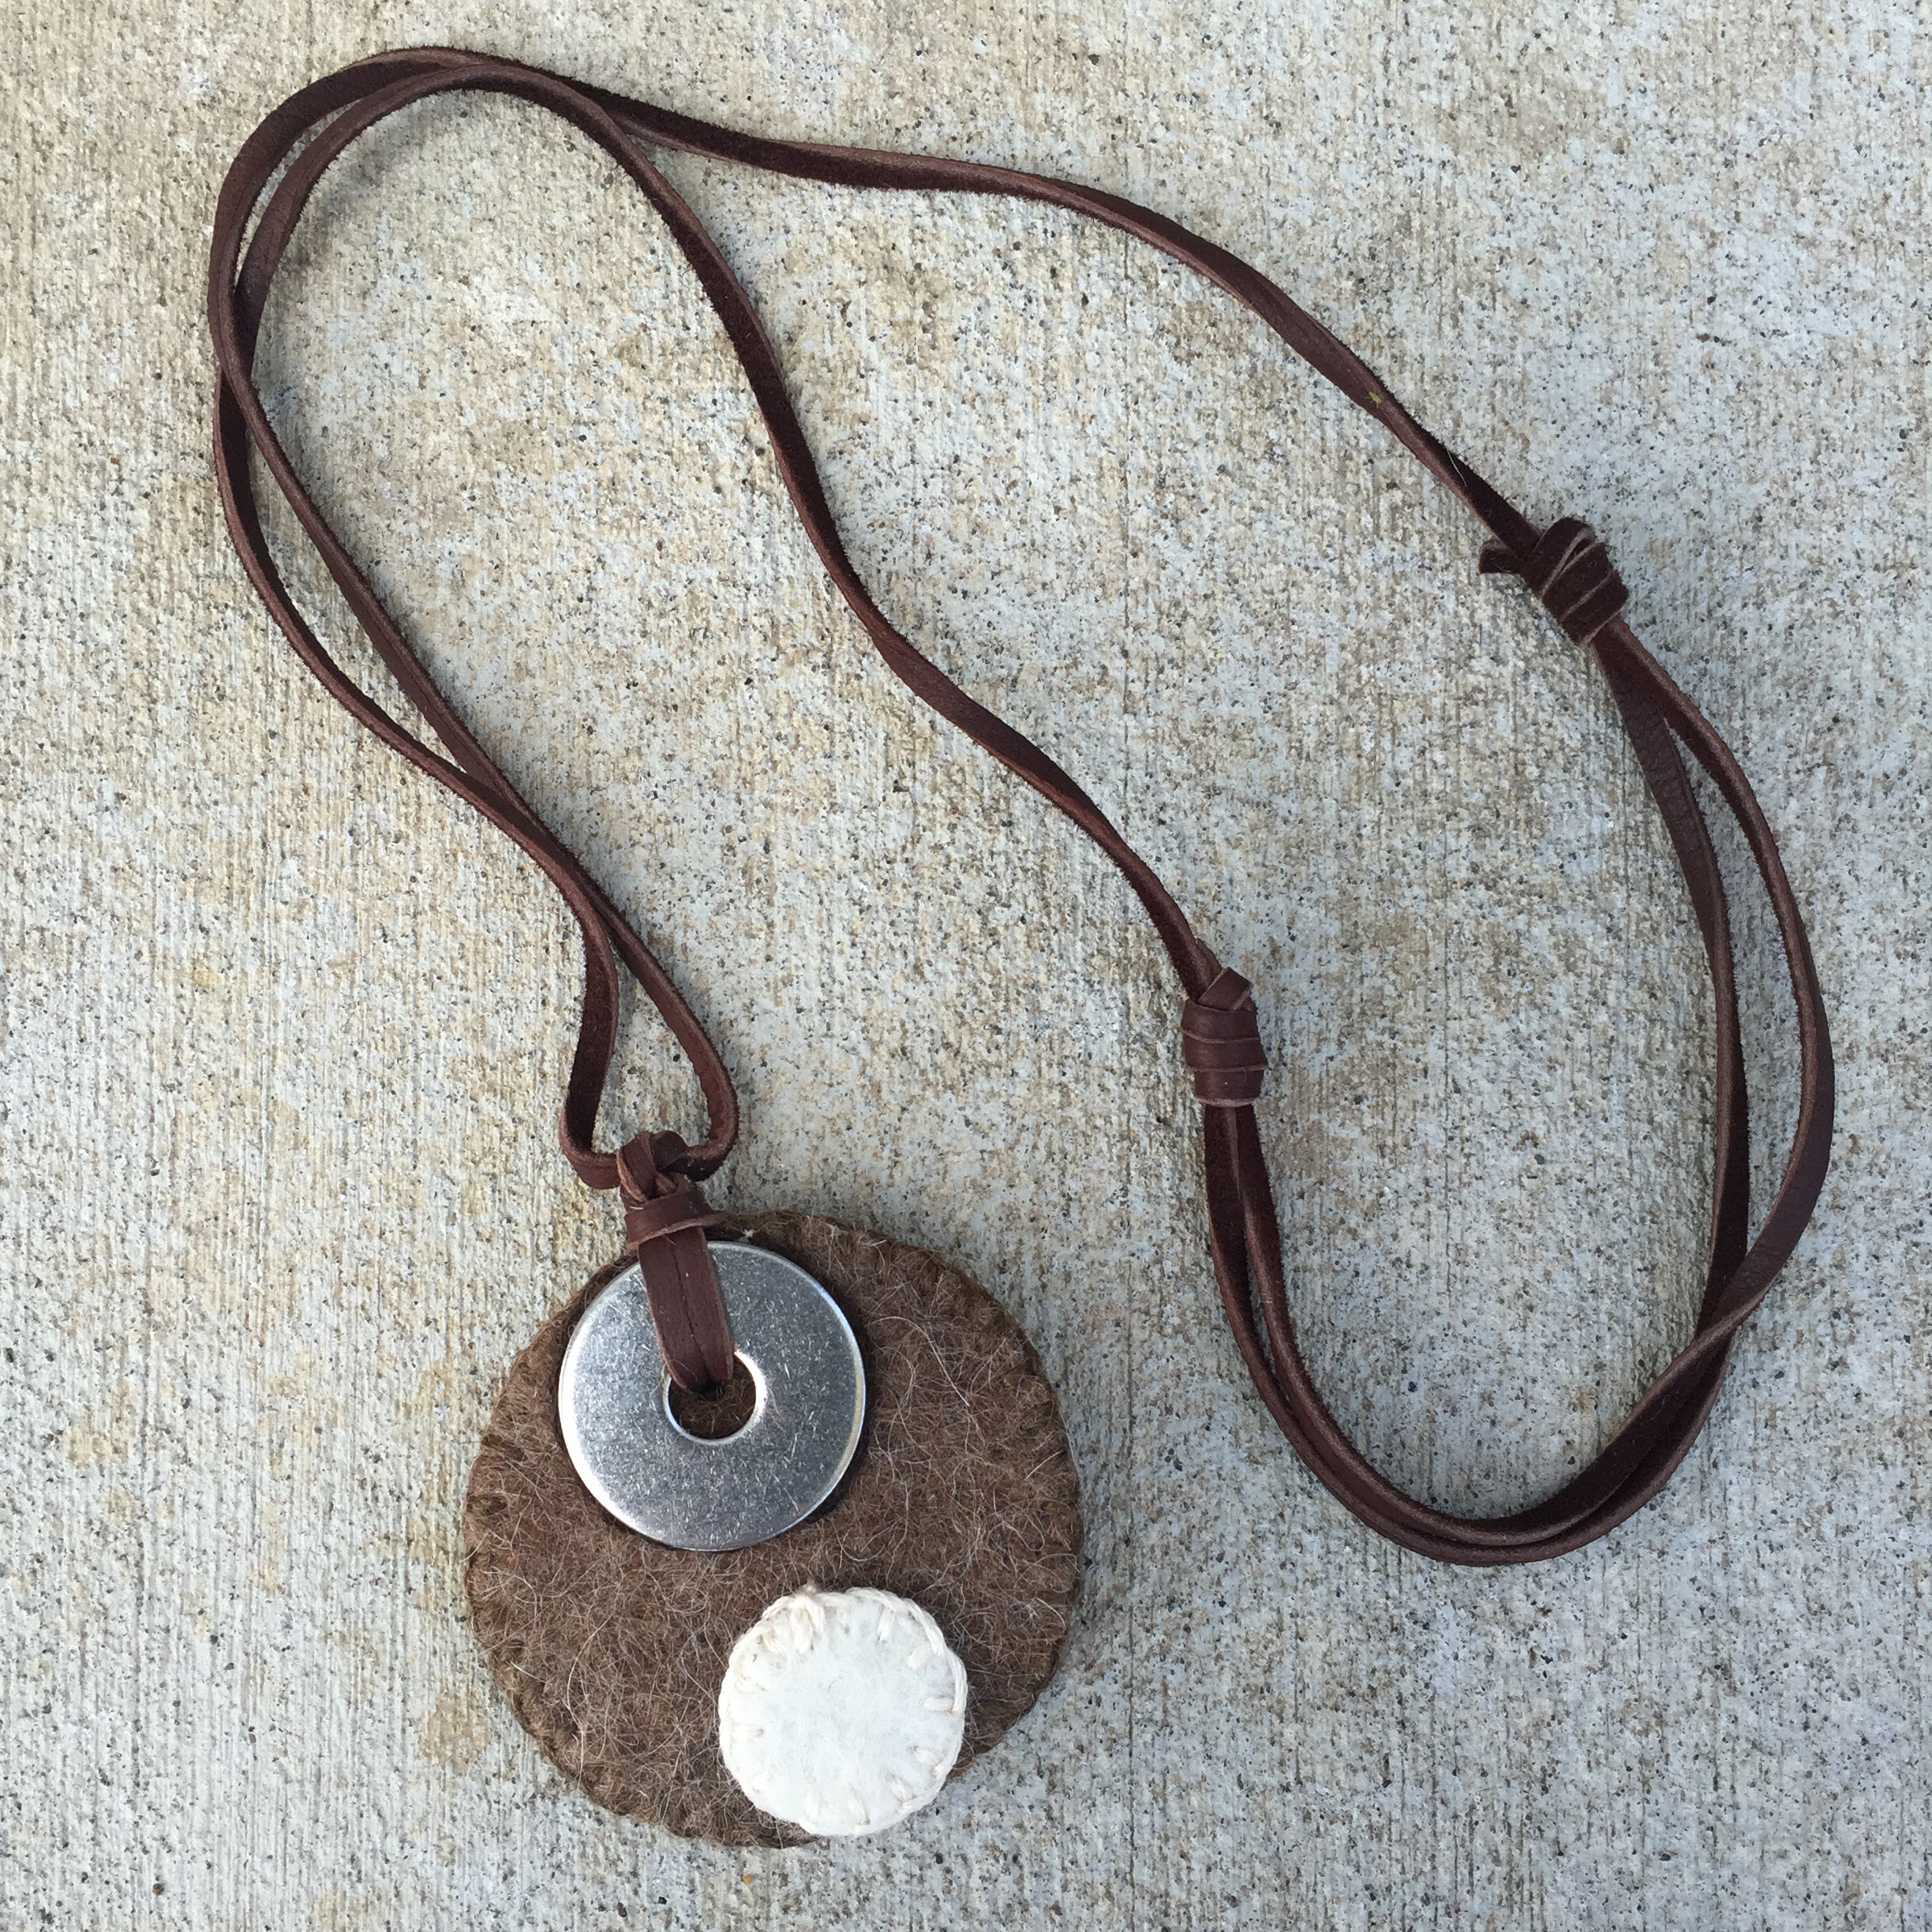
Although I had never worked with leather before, I was up for the challenge. The leather was generously donated by Maverick Leather, and Warpony Saddlery punch all the holes for stitching, saving me countless hours. Each piece of leather was hand cut in an irregular circle to highlight the raw, organic shape of felt. A hand sewn saddle stitch in artificial sinew creates a contrasting border. Unseen are dozens of holes that I hand punched into each circle of leather so the children could easily hand stitch their felt piece onto the leather using wool yarn and a large eye needle. Their unique, individual stitches add more texture and personality to the wall hanging. Finally, a juniper branch was cleaned and sanded by a friend with all the right power tools.

The culmination was a large, colorful felt and leather wall hanging – a collaborative creation, made with love for the school auction.

Reversible felted necklaces…


These modern felted necklaces are an experiment in simplicity and purity of shape. The circle is symbolic of renewal and regeneration and continuity. In my creative work, I am focused on trying to create closed loop products; locally sourced, renewable, recyclable, reusable. These necklaces use locally sourced alpaca wool roving, natural deerskin lacing, and recyclable steel washers.

Inspired by the DIY necklaces found in Urban Scandinavian Sewing by Kirstyn Cogan, these necklaces are relatively simple to make. Working with circles in various sizes, materials and colors creates a near infinite number of combinations. Using handmade wet felted sheets cut into circles of various sizes, I created layered combinations. using the opposite colors on either side. The edges are hand stitched with a blanket stitch, and a washer reinforces the hole for threading the deerskin lacing. I searched for used washers with a naturally aged patina but was unable to find any. I also think it would be interesting to use heavy jewelry wire hammered into a spiral as an alternative to the standard hardware store washer.

Why not make your own version of this necklace? A simpler alternative would be to use store-bought felt which comes in all sorts of colors. Since the typical polyester felt is quite thin, I suggest gluing two layers together so each circle is thick enough to hold its shape. It makes a perfect handmade gift.

What I love about wet felting…

What I love about felting is the process – which is both demanding and forgiving; repetitive (meditative) and very physical (yes, muscle.) I can be precise or loose and still create something interesting. Mistakes can be opportunities.

I received some natural alpaca roving from Benvenuti Farm and decided to make another mat with integral vase or bowl. I love this minimal, modern design and need to come up with a more fitting name than “mat vase.”

This can be made in about 2 hours depending on the size and the inclusion. I first roughly needle felted four small mats which I then joined into a larger square. Then I placed an inclusion (a large Easter egg) on the square and covered it with cream roving and then with the tan roving to create a reveal of color on the inside when the egg is removed after felting. The whole piece is carefully wet felted so the inclusion does not shift around and so the thickness of felt remains consistent. When it feels complete, I cut out the egg and then wet felt the final piece one more time to make sure the interior of the vase is also tight and smooth. I let it sit overnight to dry and then I trim three sides and leave the fourth raw. The vase is the perfect size for a small potted succulent, an air plant, or some dried herbs or twigs.


Wet felting experiments…

My girls and I are playing with wet felting. In these first experiments we used scraps of tulle, yarn, and beads to add color and texture to the roving. Most of the donate roving was a natural cream color, but one bag was filled with pastel pink, blue and purple. My daughters were ecstatic. The process of wet felting is relatively easy but requires letting go of perfection because wetting and rolling and shrinking makes for some surprising outcomes – at least for us amateurs. I’ll be bringing roving into Stella’s Pre-K class to make some wet felted “squares” with the kids. I’m excited to see what they make!