Drawing on nature…

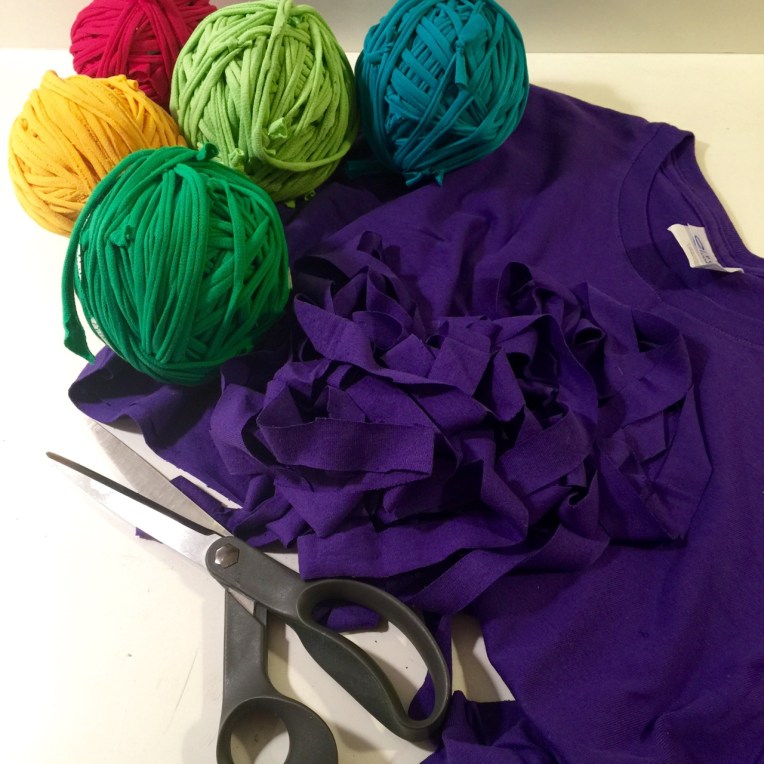
As a maker, I spend a fair amount of time searching for and collecting (purchasing) materials. In the last few years I have developed a love for thrifting; buying someone’s cast off’s for a bargain price (hopefully.) I have collected enough stuff that I am probably all set for a few months of making – if I didn’t change my mind all the time and follow a new creative whim.

But recently I have been interested in a creative process that involves hunting and gathering rather than purchasing. My own existing stash of materials certainly now qualifies as hunting and gathering. Many times I am going through a bin looking for a particular thing when I come across a long forgotten material. “Oh yea! I wanted to make something with this!”

My own resources aside, I like the idea of seek and find, hunt and gather, in a way that does not COST anything. And by “cost” I mean not only monetary exchange, but any cost to the the safety and well-being of life on this planet.

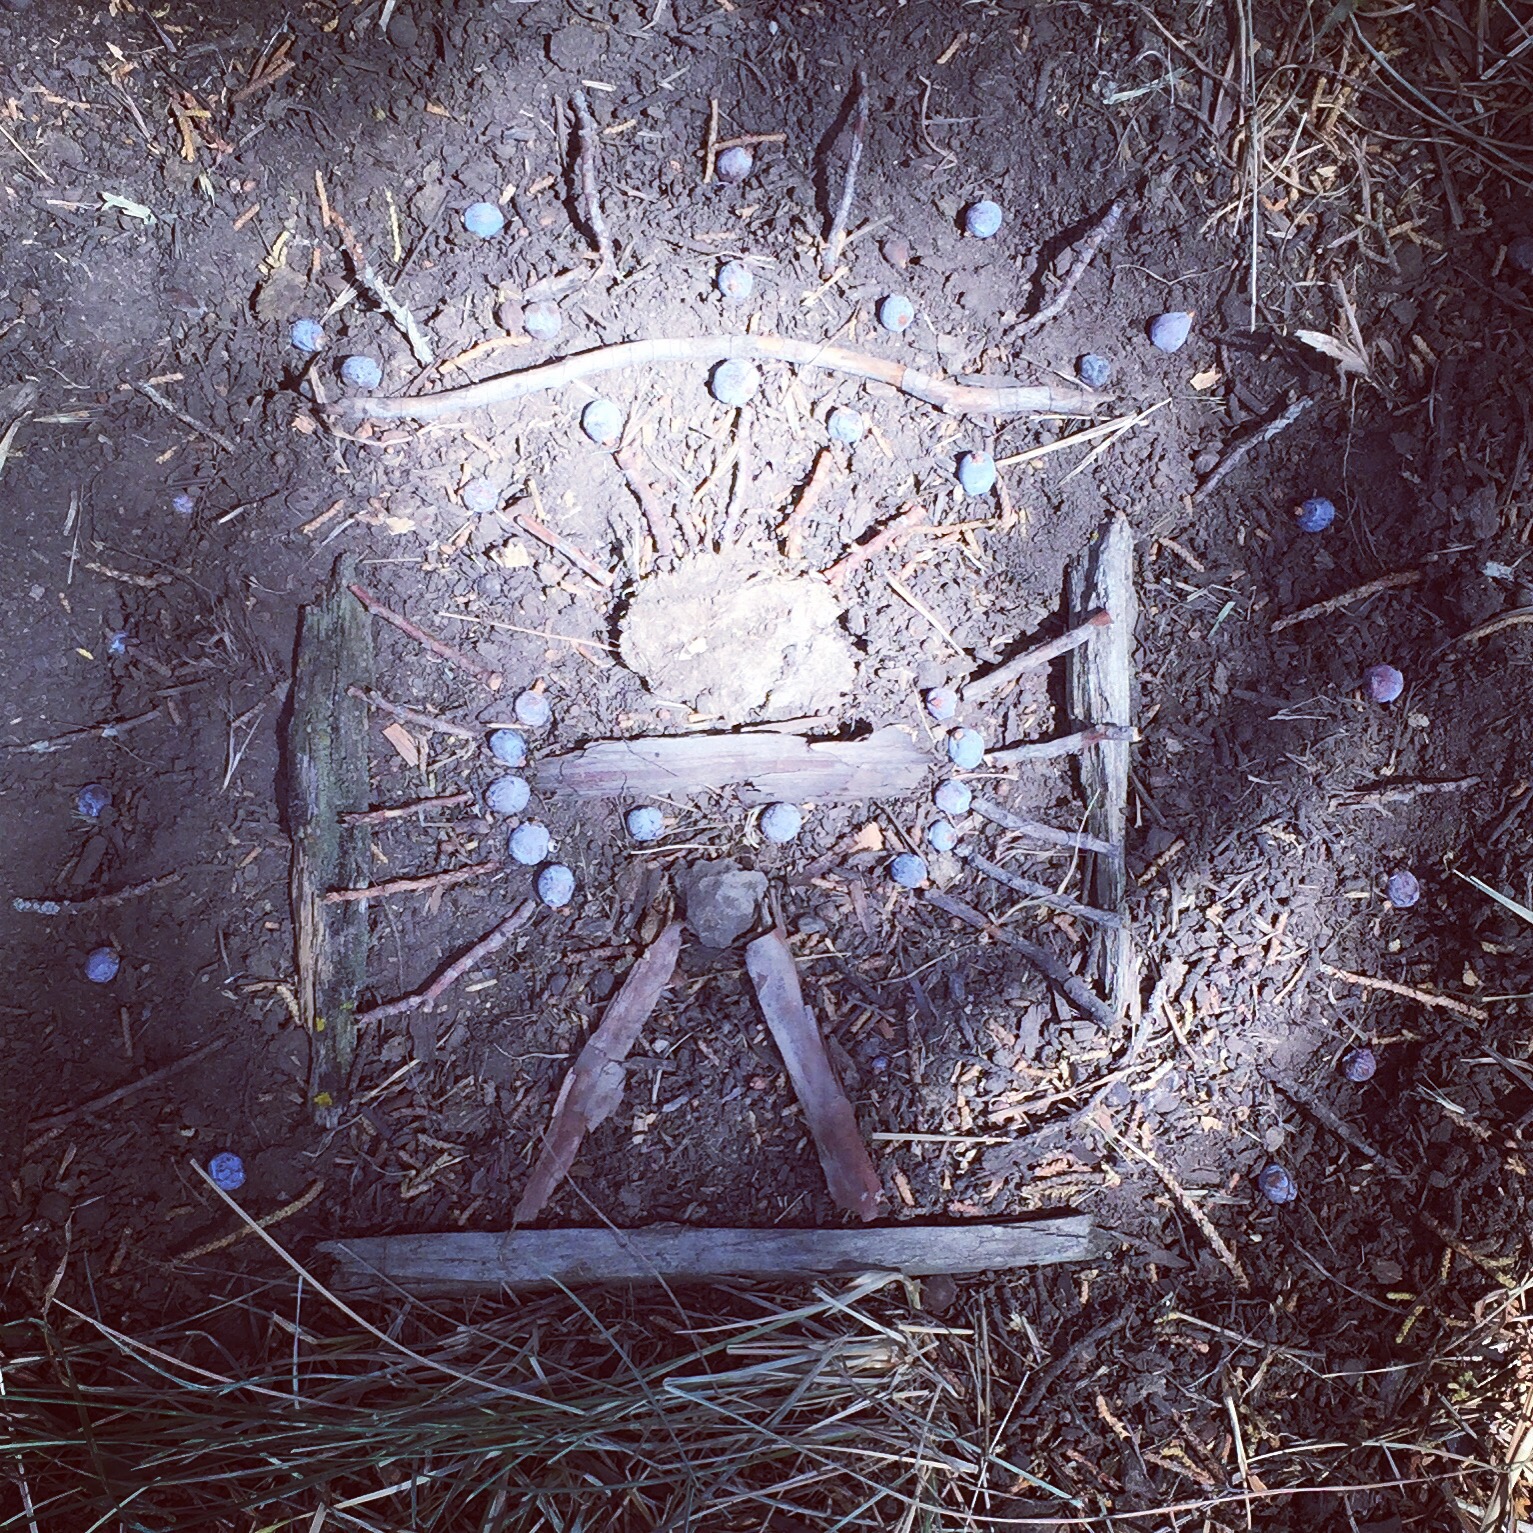
The image above depicts a nature drawing; just some arranged twigs, juniper berries, bark, and dirt that lay around me as I sat in the shade on a local ranch. Once I leave, the drawing will be erased by wind, rain, and the movements of all the creatures living there. It was a simple exercise in hunting, gathering, and creating with a pure, artistic vision.

As I head out at the end of this week to camp with family in the Sierra Nevada mountains, I will be exploring these creative ideas further. I will make things with my hands in, on, and of the earth. Pure. Simple.

Be bold and courageous. When you look back on your life, you’ll regret the things you didn’t do more than the ones you did.

H. Jackson Brown, Jr.

My dilemma with the selfie…

It has been awhile since I posted anything about clothing. I have made several new pieces, but have avoided posting because I am tired of the late night selfies. (Late night because I often don’t get around to documenting and posting until after I get my kids to sleep; and selfies because it fits my budget.) I actually bought a couple lenses and tripod from Photojojo.com to improve my iPhone photos. But the lenses and tripod do not take better photos on their own. So what do I do? I revert to the late night selfie. I figure sharing my making is important even if the photos are less than perfect. You, dear reader, may likely disagree. But I feel compelled to let you know that I have much busier than my blog shows. Really, I have. Currently, I like the feel of a loose tunic shirt. Using an XXL or larger men’s shirt, I create a narrow sleeve but leave the body wide. This style works best on a shirt that has some movement – like a rayon blend. Using a 100% cotton dress shirt would be too stiff. In the photo, I am wearing a linen/rayon blend I transformed today. And what am I wearing below? Those funky pants are an experiment. They are jersey cotton pillowcase pants. Yes, from a pillowcase. I was sifting through my bins of fabric and thrift clothing looking for inspiration when I found the pillowcase and envisioned simple dropped crotch pants and a skirt. I just cut and sewed legs using my serger and then added an elastic waistband into the existing hem. Easy. And so comfortable, although they are not the most flattering. I made the skirt too, but I’ll save that post for another day.

Gathering together and making is strong medicine…

Last month I was fortunate to be invited to lead a craft at Soulodge Fire Circle Retreat; my very first solo retreat; first time away from my little family; first time giving permission to myself to reset, renew, and reconnect. The retreat gathers women interested in earth medicine, so I conceived a simple wet felted medicine pouch, adorned with a slender, wire-wrapped piece of kyanite and hung from adjustable deerskin lacing. Instead of using a more conventional plastic resist to create the pouch, I chose palm-sized river rocks. I wanted the felting process to be as pure and natural as possible – as if we had gathered all the materials on the land. Each woman wrapped her chosen rock in natural alpaca roving and then knelt over a large metal tub filled with hot soapy water to wet, soap, and rub the wool until it was felted tightly around the rock. Cutting a small hole at one end, the rock was then pushed out – sometimes with great effort and humorous analogies to giving birth. The open pouch was then wet, soaped, and rubbed again to complete the felting process. After rinsing, squeeze drying, and hand shaping the pouch, the stone adornment and lacing was added. A slender kyanite stone was wire-wrapped onto the center of the deerskin lacing, which was threaded through two sets of holes punched through both sides of the pouch. The lacing was then secured with two slip knots for adjustability. For anyone who was not able to make a medicine pouch at Soulodge Fire Circle, I’ve made a few felted ones and posted them for sale on Etsy.

Transforming scraps into gems…

This simple, modern necklace uses leftover scraps from various wet-felting projects. I cut three circles in different sizes and blanket stitched their edges with a matching color thread. The circles were then layered and affixed with fabric glue. Stainless steel washers on both sides provide contrast and reinforce the hole for the leather lacing. This item is for sale on Etsy.

This felted wall hanging lacks a proper name…

After making several of these felted mats with integral bowls (I can’t come up with a name that isn’t just a description), I was inspired to make a similar design as a wall hanging. Although I meant for the bowl to be more of a pocket, it is tilted upwards just enough to be able to hold moss and an air plant. The piece is secured to the wall using simple thumbtacks that are covered with leftover felt. I will keep making these and playing with the bowl shape and angle. I envision a whole grid of them on a wall in varying natural alpaca colors.

Back to the name dilemma. What would you call this piece? Maybe just a real name, like Susan? Or a made up name like cars models – The AVRA. Anyway, I will consider any and all suggestions. In the meantime, this item is for sale on Etsy

Embracing the mistakes in making…

Wet felting is a very organic process for me. I figure things out as I go. Therefore…I am constantly making mistakes that I have to incorporate. (I rarely just throw something away.) Since I am often changing mediums and therefore almost always experimenting, I make a lot of mistakes. But for me, these are opportunities rather than failures.
For this particular felted wool vessel, I wet felted natural alpaca roving around a ball. Because I wanted the walls of the vessel to be rather thick, I wrapped about six layers of roving around a three inch diameter ball. If you have ever done any felting, then you know the unwieldy mound of fluff that six layers becomes. Conventional felting wisdom recommends using pre-felted pieces, or needle felting before wet felting in order to prevent the layers from slipping around. But I just go ahead and wet felt the whole thing. And the layers slip. And bunch. And do all sorts of uncontrolled things. Wrinkles form. The overall shape is imperfect. And for a moment I am disappointed; maybe I even put the misshapen vessel aside for awhile. But I don’t forget it. I look at it every now and then while continuing with other projects.
And then one day an idea comes to me. I decide to highlight the wrinkles by stitching a pattern in wool yarn. Thus the wrinkles are meant to be. They give purpose to the stitching which in turn enhances an otherwise plain vessel.
And that is a perfect example of my creative process; organic, experimental, inclusive, additive.

This item is for sale on Etsy

Take a simple craft outside and scale it GIANT…

A beautiful setting for crafting in nature; a grove of Ponderosas next to the rambling Tumalo creek. Students from kindergarten through 5th grade each wove part of a giant god’s eye on 8’ lodgepoles. This change in scale was an idea that came to me while I was researching ideas for a collaborative, kid-friendly project. Most children (and adults) have made a small god’s eye at some point. In native cultures, a god’s eye is used as a connection to the spirit world through the very center of the weaving. Outdoor school provides an opportunity for the kid’s to connect to the spirit of nature. Changing the scale of the god’s eye to GIANT made it a collaborative project rather than an individual craft. And the large scale emphasized its presence in nature – an amplification of the spirit of the earth. While weaving, children were also looking through the god’s eye to the creek and cliffs in the background. It was a magical experience.

The children chose their weaving yarn from a large collection of thrift yarns as well as several colorful t-shirt yarns I hand cut from thrift T-shirts. Denim “yarn” that I made from thrift jeans separates sections of the kid’s weaving and helps tie together the otherwise diverse collection of yarns. At the end of the day, the god’s eye was only have full. Given the scale of the weaving (and the small population of the school) I’ve invited faculty and staff to add to the god’s eye after the summer break.

Create your own t-shirt yarn…

I will be working with kids from kindergarten through 5th grade on a giant weaving project this Friday. Pictured above is the t-shirt yarn I’ve been making for this weaving adventure. Each ball skein is wound with strips that I hand cut, stretched, and tied from one single t-shirt.

This process works best on a t-shirt that does not have side seams. After cutting off the bottom hem and trimming off the seam, I then the hem along the fold and created two strips of fabric. I pull them to stretch the fabric and make it curl along its length, then tie the strips together. Then I cut a spiral from the bottom of the t-shirt up to the arms – a single 1″ wide strip cut at a slight angle to the bottom of the t-shirt. I continue to cut individual 1″ strips between the arms and then also spiral cut the arms. The only remnants are the ribbed neck and a bit of material below the neck. I tend to prefer fewer knots in my t-shirt yarn, so if a strip is less than 12″ long, I don’t use it in the yarn. But I do save all remnants because they make good stuffing for other sewing projects like my upcycled wool blanket poufs.

The process of creating a single skein of t-shirt yarn takes about 45 minutes. But the effort is worth it when I imagine the vivid colors and textures in the god’s eye.