When I first received some roving from local alpaca farm Flying Dutchman Alpacas, I wet felted a few “sheets” with the intention of making something useful. I love the texture and thickness of the hand felted material. I decided to make a zippered pouch for my new iPhone 6 Plus (that is so enormous it does not fit well in the open phone pocket I had made in my leather hobo bag for my previous iPhone.) I used a vintage cotton material for the lining and handstitched the zippered opening using a contrasting pink cotton thread.
sewing
From t-shirt to skirt to pants…

A while ago I happened upon a way to make a simple skirt from the top half of a XXL t-shirt. I literally just stepped inside the giant neck hole and said “Hey, this could be a skirt.” The sleeves were flipped inside and sewn shut to form giant pockets and the skirt hem was a simple raw cut edge. It was just that simple. I wore it a few times in the summer. It was funky for sure – even for me. So recently, I decided to alter it a step further and make some low crotch harem pants. Using a second complementary gray t-shirt, I created tapered legs and a folded waistband. They are super comfortable, but clearly an experimental part of any wardrobe. Pants are much more practical in my wardrobe, so I may actually wear these as a funky, feature piece now and then.
Upcycle a shirt into an infinity scarf…
Minimal mouse costume…
My daughter Stella required a mouse costume for a performance of the Ukranian folk tale “The Mitten” at her school, so I created ears and tail for 13 Pre-K’ers. As Stella climbed up over all the other woodland “animals” in the mitten at the end of the play, her ears were jostled off. But she recovered her costume and the play ended in laughter and applause.
Concept base for a pouf…
The two poufs I made have proven very useful in our livingroom. My daughters often choose to sit on the poufs rather than the couch or armchairs. But I wanted them to serve as more than a footrest or seat. I sketched an idea for a simple base tray that can alternately be underneath or on top of the pouf. I created a prototype out of scrap cardboard. When underneath the pouf, the base tray raises it to a standard seat height so it function as extra seating at our dining table. If I flip the base tray over and place it on top of the pouf, the combination functions as a side table.
Ultimately, I’d like to make this base tray out of finish plywood, but I lack the tools and materials. When I get around to making cube poufs, which I prefer, I will make a square base tray prototype.
Stuff a pouf with scraps…
While researching creative uses for my bins of scrap fabric, I found a pattern on bhg.com for a pouf. I chose an outdoor cotton duck fabric and pretty much followed the bhg.com instructions verbatim except that I opted for minimal hand stitching to finish the top and bottom octagons. To fill the pouf, I used two large storage bins of scrap fabric and fiber fill from three old pillows. It was very satisfying to use so much “waste” to create something so useful, lasting, and attractive. To be totally honest, I am not in love with the octagonal shape. If I make any more poufs, they will be cubes. I found two wool blankets at a thrift store that I felted just for this purpose. Since I am all out of fabric scraps for filling, I can purchase bags of rejected thrift store clothing for $0.10/lb.
Flirty swing dress from a giant t-shirt…
Day 302 – Adding a face to the nesting bears…

Day 302 – Taking quality photos of projects is a challenge. The iPhone is a mediocre camera in artificial light late at night. So I replaced last night’s photo with this composite of photos taken outside on this overcast day. Imperfect, but much better. I’m still working on the bears – the faces at least. I’m playing with a few accessories like bows, glasses, and binky. I’d like the accessories to be changeable rather than fixed, but that may add too much complexity to the toy. It may be best to stick with the basic concept of nesting, closures, and numbers 1-5.
From Sketch to Soft Sculpture…
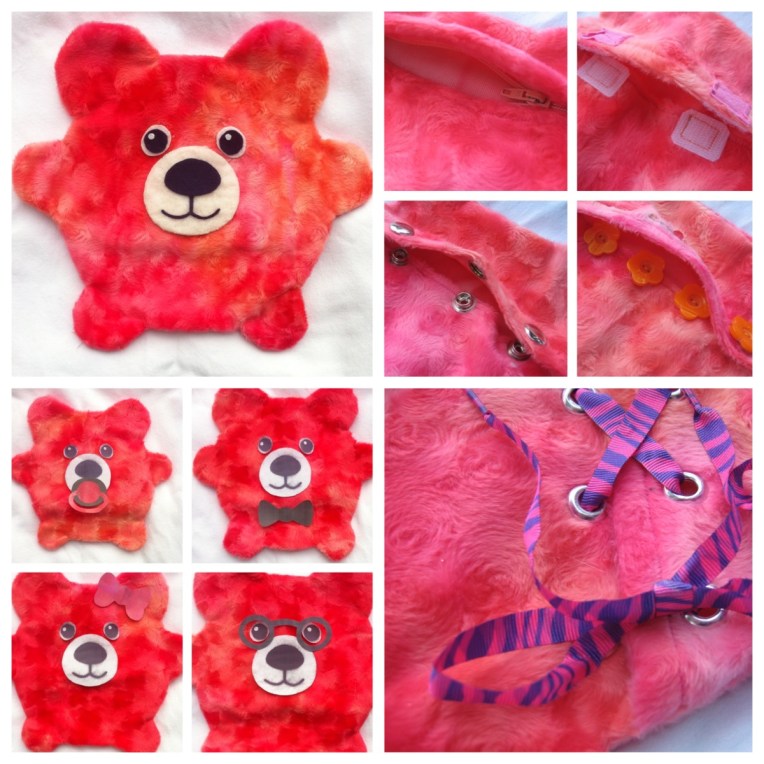
So your kid just drew the cutest little creature, and you are thinking “That would make a great stuffed animal!” Whether for fun, or because you believe you’ve just designed the next Ugly Doll, with a moderate amount of time and skill, you can create your very own plush toy. But just remember that when your work is completed, you may actually prefer to display it high on a shelf rather than hand it over to your kid as a toy.
This fuzzy, pink creature, named Reesy, was inspired by my 3 yr old daughter’s sketch. I scoured the Fashion District in downtown LA for inspiring fabric and notions, choosing a mottled, hot pink, polyester, tassel fabric for the body; blue buttons and white pleather for the eyes; velvet cord and faux fur for the tail; and a polyester glitter spandex fabric for the tongue.
My daughter’s sketch was drawn on a post-it note, so I enlarged it on my copier to be about 12″ in length. This just seemed like the right size to cuddle. Using the sketch as a pattern, I cut out two pieces of fabric for the sides adding a 1/2″ seam allowance, and then cut a long 3″ wide strip that I sewed from mouth to tail to give the creature more girth. I also created a 3″ wide bottom piece with legs to match the two sides. I added the eyes before sewing the sides to the middle strip. I sewed a small piece of 1/2″ batting between the two pieces of the glitter spandex for the tongue and then stitched a strip down the middle to make it more like a tongue. This was a creative interpretation of the line extending down from the head in my daughter’s sketch. I have to admit that my daughter hates that Reesy is always sticking out her tongue, but she loves the furry tail; both are examples of artistic license.
If you are inspired to make a plush creature from your child’s sketch, but are not very skilled with sewing, you can instead create a simple pillow by cutting out two copies of the sketch in your chosen fabric, sewing it around the perimeter (leaving a 2″ hole for stuffing,) stuffing it like a pillow shape, and hand stitching the hole closed. Be sure to add at least 1/2″ for the seam allowance. And the easiest possible option for making a plush from your child’s drawing? Just photocopy the sketch onto inkjet-ready fabric; cut it out using at least a 1/2″ seam allowance; sew it up, leaving a hole for stuffing; fill it with your chosen stuffing (anything from organic cotton, wool, polyester fiber fill, or fabric scraps) and hand stitch to close the hole.
Now you have all the inspiration you need for a perfect gift for a young one (or the young at heart.)


